 Insert Text
Create 3D signs and lettering and add room labels and other text to blueprints.
Contents
Insert 3D Text
Insert text in 3D mode for signs, 3D lettering and so on.
Choose Build> Insert Text
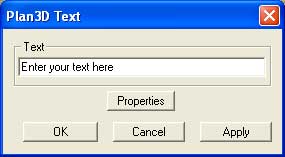
Text will appear in front of you as will a text editor window
Enter your text and click "Apply" to see it.
Modify thickness, font, and so on
Click OK to accept changes.
Text may be manipulated much like other 3D models in plan3D.
3D Example

3D and Text Material Examples

Adding Text as a Material
Creating text images and applying them to 3D objects is another way to add text to your projects. Create your text layout in design software, like PhotoShop, and then export it as a JPG, GIF of BMP image file. This file may then be dragged onto a 3D surface and scaled to fit. The church and construction signs above use this technique. See Materials and Textures for more about importing your own image files.
This method doesn't apply to blueprint text.
Blueprint Text
Inserting text in blueprint mode is useful for labelling rooms, adding comments, entering an address, and so on. To insert text in blueprint mode do this:
Choose Build> Insert Text
Click in your blueprint where you want text to go
Text will appear in front of you as well as the text editor window
Enter your text and click "Apply" to see it.
Modify thickness, font and so on and click OK to accept changes.
Blueprint text won't appear in 3D mode unless you right click it and choose "Visible in 3D." It's easier to insert text in 3D mode, however.
Editing Text
To edit text, double-click the text letters. When the window below opens, enter new text or modify the text you have. Click "Apply" to see changes and "OK" to accept.
Click the "Properties" button for other options.
Text Properties
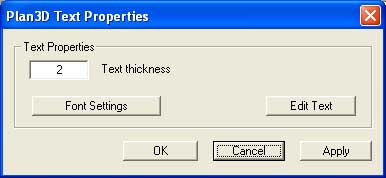
When you right-click text and choose "Properties" or click the "Properties" button, you'll get the window below.
Adjust thickness or click the "Font Settings" or "Edit Text" buttons. Click "Apply" to see changes and "OK" to accept them and close the window.
Text Thickness: Enter whole or fractional inches or centimeters depending on measurement type to set thickness of 3D text. This is not useful for blueprint text, of course.
Font Settings
Open the Font window for 3D and blueprint text by right-clicking text letters and choosing "Change Font" from the pop-up menu, or clicking the "Font Settings" button above.
Select font, style, size and see changes reflected in the text immediately.
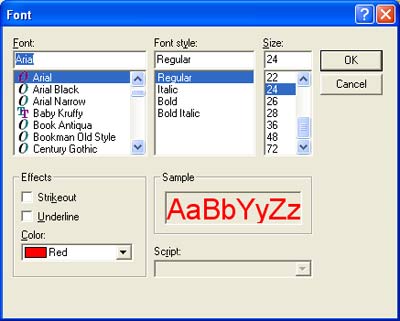
Strikeout and Underline are not functional
Rotate Text
Rotate text by dragging the red handles.
Right-click text and choose "Rotate> Front to Back" or "Rotate> Left to Right", then drag red handles to rotate text on a different axis. Also see Rotate and Move.
Move Text
Use click-and-drag to move text around. Use the pink handle in 3D mode to raise or lower text. Also see Rotate and Move.
Color and Materials
Drag-and-drop materials, paint and colors onto text from the Directory. Also see Materials and Textures and Paint and Color.