 Roofs
Roofs
This tutorial will show you how to draw roofs on your buildings. Almost any type of conceivable roof may be created in plan3D using several tools.
Contents
Roof Tools
If you're creating a simple structure with a hipped or gabled roof, use File> Building Wizard. If you want more control over how your roof looks there are a number of other tools:
Draw Roof is for drawing Gabled,
Hipped, Saltbox, Shed and Sloped roof styles with a few mouse-clicks.
Adjust peak, hip, overhang, and more.
Construct Roof (custom): Create custom roof types, Gambrel, Mansard, etc.
Draw Dormer: Create dormers on roofs.
Some of the many roof types you can make with these tools:
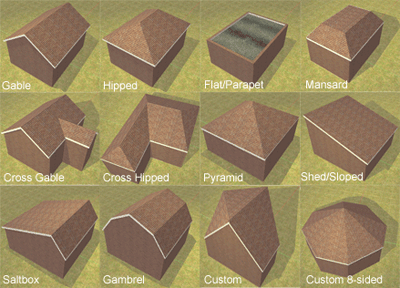
Gabled, Hipped and Pyramid Roofs
Draw Roof is used for making these types of common roof. Follow the steps below for creating Gabled, Hipped, Saltbox, Shed and Pyramid roofs:
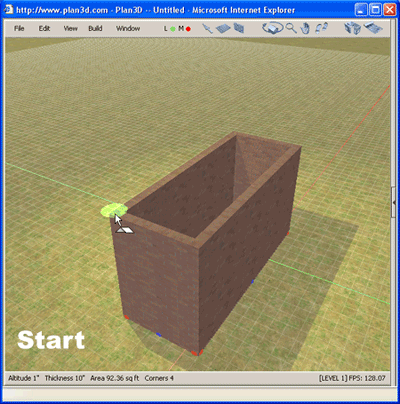
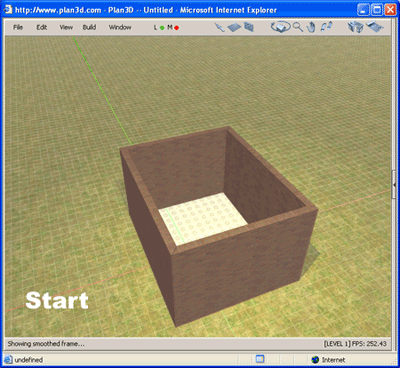
Draw the walls for your structure. These types of roofs best accommodate square, rectangular, L-shaped or U-shaped structures.
Choose Build> Draw Roof and draw the roof on walls.
Example of Gable and Hipped Roofs:
Cross Gable and Cross Hipped
Crossed roofs are two roofs that cross at and angle. Example of a gable roof crossed with a hipped roof:
Flat, Shed and Sloped Roofs
If there's a pitch use Build> Construct Roof (custom) as shown below:
Other Roof Types
Use a combination of Construct Roof (custom), Draw Roof and Draw Floor to create almost any kind of roof you can imagine:
Mansard: Create a set of four walls inset about 3 feet from the outer walls - or four columns inset from the corners. Raise them up to the peak level. Choose Roof (custom) and click the red handles in four sets for each side. You'll need to choose Roof (custom) for each set. Delete the inner walls after you create the roof - if desired.
Eight-Sided Custom: Draw an eight-sided building with walls using the grid. Then put a column in the center and raise it up to peak level. Then choose Roof (custom) and click the bottom two roof red handles and the top of the column handle for each side of the building. You'll need to select Roof (custom) for each of the eight sides. This also works for 4, 5, 6, 9, and more sided buildings.
Saltbox: Draw a regular gabled roof. Shift-drag the peak handle to create the saltbox pitches you want.
Gambrel: See the example under Construct Roof (custom). Draw the sides with the gambrel points set. The Q-drag that wall to create a duplicate. Draw the other wall sides making sure they are lined up straight. Then use the Roof (custom) tool to draw each of the roof planes.
Special Roof Tools
Hide Roof Key: Use the "R" key to hide roofs. This is easier then right-clicking a roof to hide it as that only hides one side of the roof.
Reset Roof Edges: If you are editing roof edges and they get unsynchronized, right-click the roof and reset edges. Warning: You will lose Ctrl-click changes.
Skylights: We have Velux skylights on the site which may be dropped onto your roofs. Add a shaft from the skylight to the ceiling underneath the skylight by right-clicking the skylight and choosing "Shaft" and the type of shaft and angle you want. When the roof pitch is changed the skylight will automatically adjust it's angle and add curbing if needed.
Dormers: See Build> Draw Dormer for more information.
Construct Roof (custom)
You can create roof segments that connect to wall corners, columns, porch posts, floors and other roofs with this powerful custom roof tool. See Build> Construct Roof (custom) for more information.